Behind the Print: “Mandarin Duck”
- lucy w
- Jul 18, 2025
- 4 min read
Tim Mitchell is known for his beautifully observed and detailed prints of wildlife, particularly birds. He explains how he made “Mandarin Duck”, a spectacular four-plate colour etching that captures the glow of this shy bird’s feathers.

What made you decide to make an etching featuring a Mandarin duck?
I think Mandarin ducks are such beautiful birds and I love their shy nature. I’ve been looking at different ways to get more vibrant colour into my etchings and I decided to use four plates to get the right effect for this one – one copper plate for the fine detail and three steel ones for the colour. Copper, zinc and aluminium etching plates do not usually work well with coloured inks because the top layer of metal gets rubbed/lifted off when wiping and mixes in with the ink, which taints the colour, but steel keeps the colour true.

Do you tend to do a lot of sketches before? Or do you work straight on the plate quite instinctively?
I like to spend a great deal of time outdoors. For me, staying true to the nature of the birds in my prints is crucial, so time spent outdoors observing wildlife and above all else enjoying the time is the most important thing. I find that by getting as close to the bird as possible and then being very patient so that the bird eventually doesn’t feel threatened and loses interest in me is the best time to study its close features.
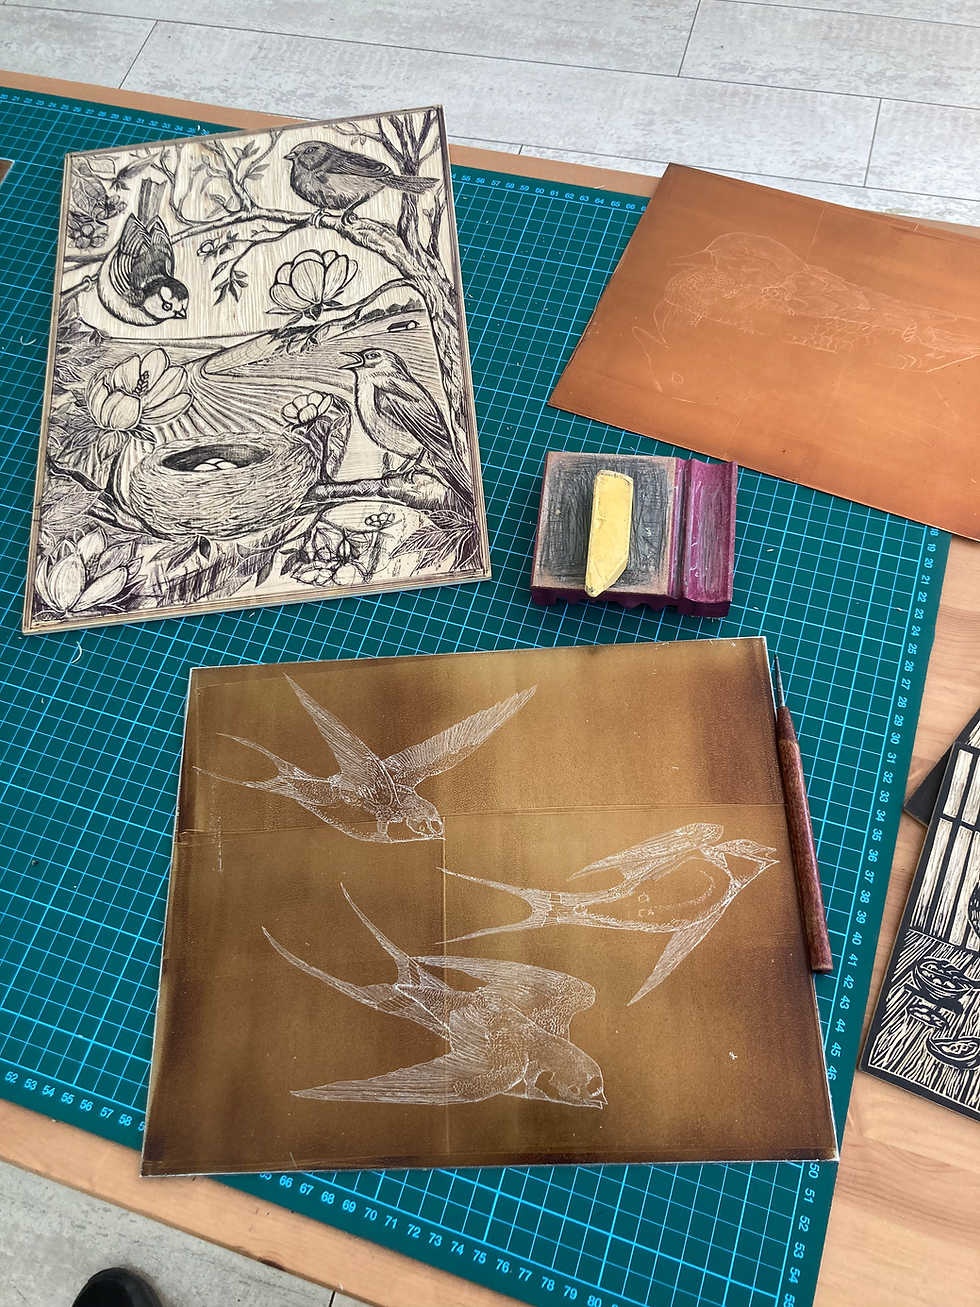
I usually lightly sketch several composition ideas of the bird or birds first on paper that is the size of my plate to get an idea of how it might work. Once I am happy with this, I lightly draw a very broad outline for the composition into my hard ground before I then return over and over again to study various parts of the bird. It takes months and months to complete the drawing into my plates, and so I usually have a number of different plates all on the go at the same time.

Tell me about how you went about making your “Mandarin Duck” etching.
It’s a four-plate etching with one copper and three steel plates. The copper plate is my ‘key plate’, which I spent months drawing into to get the fine detail of the duck. This copper plate even accompanied me on the long flight back to New Zealand last year when visiting family.

The copper plate was then etched in acid to give me the etched line drawing. At this point there were no tonal values in the print.
I made sure the three steel plates were all the exact same dimensions as the copper plate, so they would all align properly when printed. I prepared the steel plates and applied a hard ground covering to each one.
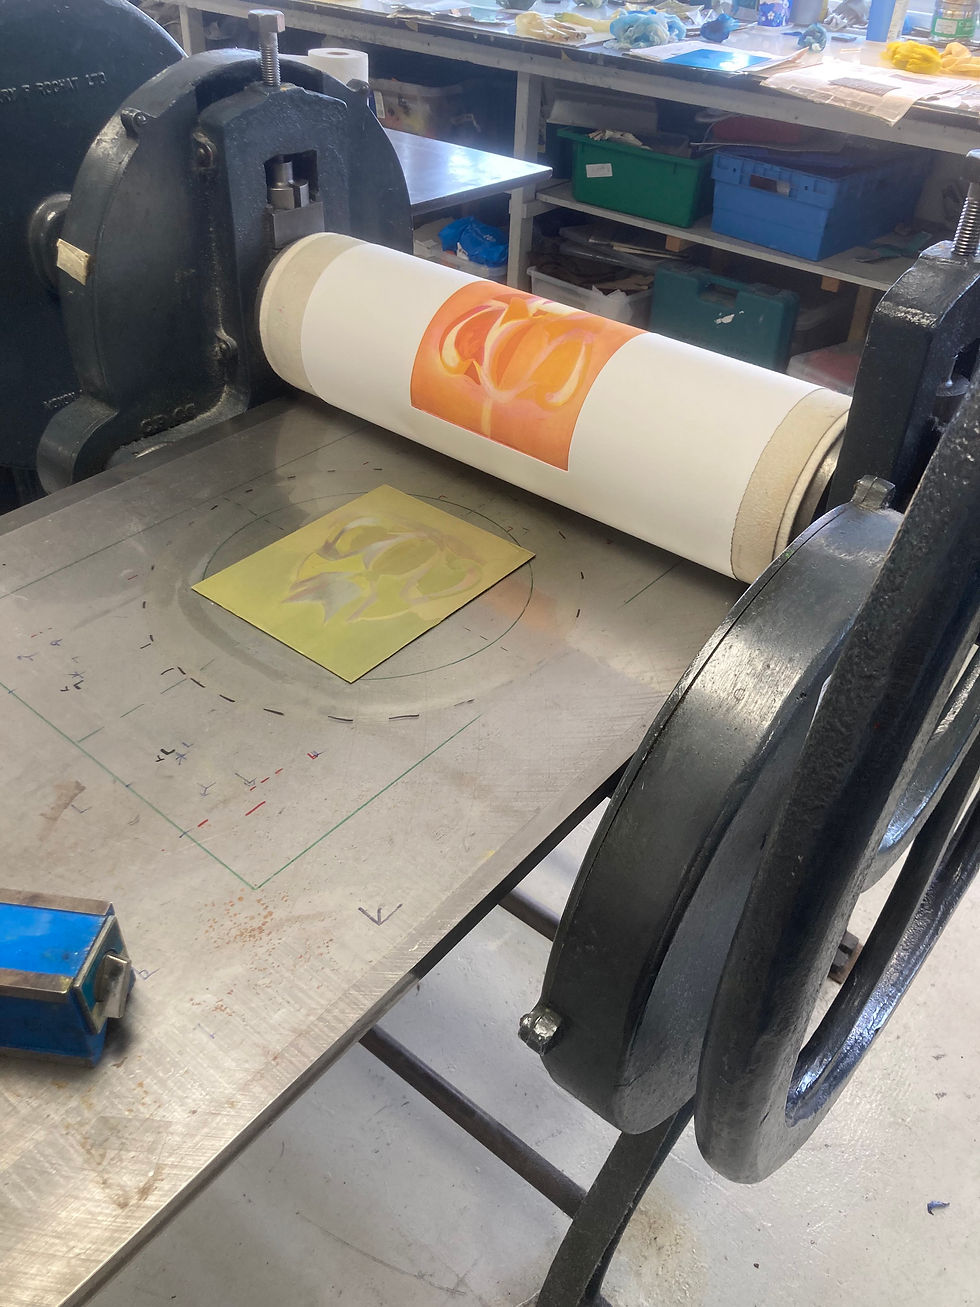
Then with my copper plate heavily inked up and run through the press, the print was then offset (reprinted) on to the three steel plates so I could make sure everything lined up.
Then came the challenge of patiently and careful scraping and burnishing the three steel plates in different places to achieve the whites and the colour mixing.


The difficulty lies in the way the inks lay over each other to create the final image, so any changes on one plate will not be seen until all four plates are inked up and run through the press to test it.
A great deal of prints were made to get a feel for the print colours. As far as I am aware, there are no guides or instructions for this technique, so it is something I have been learning as I go along.

Finally, once I was happy, I started editioning the finished prints.

What are you working on at the moment?
I am making a print of the female Mandarin duck to go with this one. I have been drawing into this for a number of months already, but I feel the end is still some way off. This is all before I even go about preparing my next three steel plates for this print! I also have a few other plates on the go.
Tim is our featured artist at the gallery until August 3, and his wonderful prints are available there and in our online shop all year round. For more information, see his website.


Comments